Making a spirit doll part two.
Welcome to part two on how to make a spirit doll.
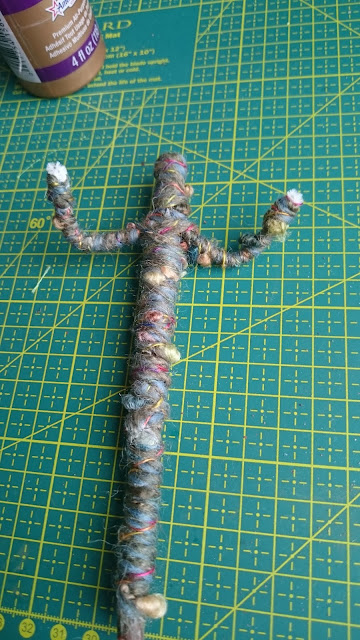
In the last post we made the basic body for your spirit doll using a stick/twig, pipe cleaner and wool. Now it is time to add some clothes and give your doll character. Remember spirit dolls are to be created with positivity and with whatever you have to hand. Thus this tutorial is a guide rather than a rigid tutorial.
Taking a piece of fabric wrap loosely around the body of your doll. Tie in the middle, I used a spare pipe cleaner but you can use a ribbon, string or length of wool. This will be your dolls dress or robes.
Remember your spirit doll can be male or female. You can also make it as an animal!
Now for a head.
You can use a bead, a ready made cabochon, a stone or you can create a head using air dry clay or fimo. You can of course have it head free!
I made a sun head from air dry clay which I glued onto place and then painted it with acrylic paints.
Different head ideas, plastic cabochon painted with stick antlers, a fimo face with moss hair, a hag stone found at the seaside and a sun face made with air dry clay.
Once the head is glued into place and the glue is dry your basic doll is ready to decorate. Add charms, beads, ribbons, shells, herbs what ever you feel reflects your dolls spirit. Maybe she or he is a spirit of the wood's, the sea, or of good health.
Making a spirit doll part three, making a magical staff.


