Halloween foam skulls tutorial by Kat Hazelton
This month has flown by faster than a witch on a racing broom! I had all these plans to do lots of Halloween projects and this month has raced by so quickly all I have managed to do is make some Halloween cards and a few presents for friends lol! I must get more organised, she says every year!
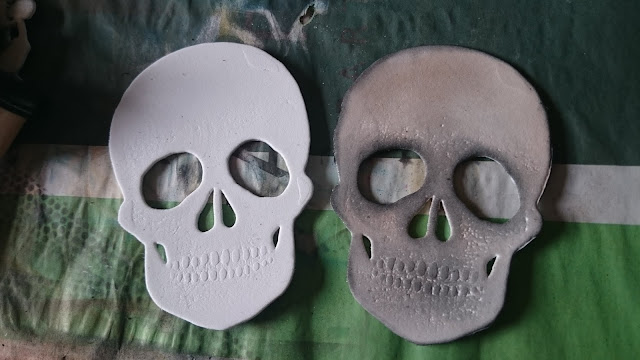
Anyway a couple of my cards I made had this fab skull on. To make this skull I used a skull die by Sheena Douglas (see image below). I used the die to cut several skulls from a sheet of white craft foam which I bought from Hobbycraft for 50p. The die works really well with craft foam.
I then used a combination of Tim Holtz distressed inks in black soot and vintage photo (see photos below). I love Tim Holtz inks they blend beautifully and also work very well on foam.
Using a ranger blending tool I added black soot around the eyes, nose and teeth and vintage photo around the rest of the skull. If you add too much ink use a cloth to gently remove some of the ink.
Now your skull is ready to glue onto a card. Another idea cut out and ink a dozen skulls and glue them onto a ribbon for a cool handcrafted Halloween bunting.
Photo taken by my dear friend Sarah.


