Making a miniature Wizard hat.
Leather wizard’s hat

You will need
- Paper, ruler and pencil/ or pen to draw hat pattern
- Scrap of soft leather
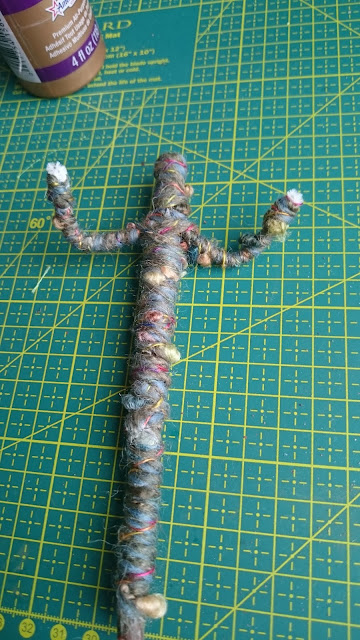
- Old paintbrush or wooden stick
- Sharp scissors
- Tacky glue
- Fluffy trim
- Charms, etc. to decorate.
Instructions
1. Firstly you need to make your hat paper pattern. The measurements are 2-1/14in from point to base, and also 2-1/4in wide from side to side at the widest part. Draw this onto paper and cut out. Now use this paper pattern as a guide to cutting your leather. Keep your pattern piece as you can reuse it.
Fold around your leather so the ends meet and glue together into a cone shape, leave to dry. Then, run a line of glue around the bottom and glue on the fluffy trimming.

2. Dip the old paintbrush or stick into tacky glue and line the inside of the top of the hat. With your fingers, gently crumple the hat until you're happy with the crumpled old hat shape.

3. Add the finishing touches – gold charms on the fur trim, sequins, crystals or beads.
Well I hope you enjoyed my tutorial, I hope it inspires you to have a go at creating. If you have any questions please get in touch via here or my Instagram page I am always happy to help if I can.
More 'Kat Makes' and spooky postings coming soon.👻🎃👻🎃👻🎃👻🎃