Hanging Skeletons tutorial by Kat Hazelton.

https://instagram.com/tim_holtz
I thought I would glitz up some of my sad looking ones with some paint and bling.

Firstly I painted my plastic skeletons with a base coat of white acrylic paint.
Once dry then painted them with black light neon acrylic paints. To soften down the colours I added some matt white acrylic.

Once dry I sprayed them with Tim Holtz Resist Spray and tapped on some glitter. I decided not to cover all of the skeleton as I wanted some of the paint to show through so I only sprayed them around the ribs and partially on the hips and head.


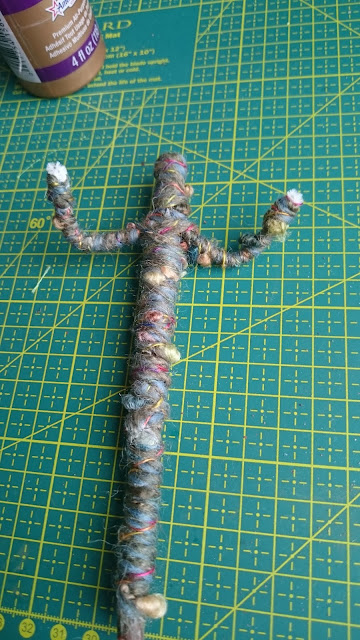
I decided I wanted my Skeletons to be more creepy than pretty so I encased my skeletons in fibres to give them a webbed old mummified look. You could use pretty threads, cotton, string, wool, strips of fabric or real bandages! To stiffen your threads or material use either pva glue or Mod Podge.

To hang my skeletons I made miniature nooses! These were made from gardening twine.
Here is a detailed diagram on making a Hangman's knot. It took me a few attempts but it is definitely worth having a go for an authentic look. If you don't want to hang your Skeletons then just position them in little scenes or use them for spooky table decorations!
 |
| How to tie a Hangman's Knot |
Well I hope you enjoyed my 'Kat Make' tutorial and it maybe inspires you to have a go at mixed media crafting. If you have any questions please do get in touch either here or through my Instagram page
https://instagram.com/witchkraftingwithkat
Please visit again for more spooky tutorials, articles, links and videos plus my 'Witchy Wednesday's!'
🎃💀🎃💀🎃💀🎃💀🎃💀🎃💀🎃